
5 Ways to Build a Custom Subwoofer Enclosure
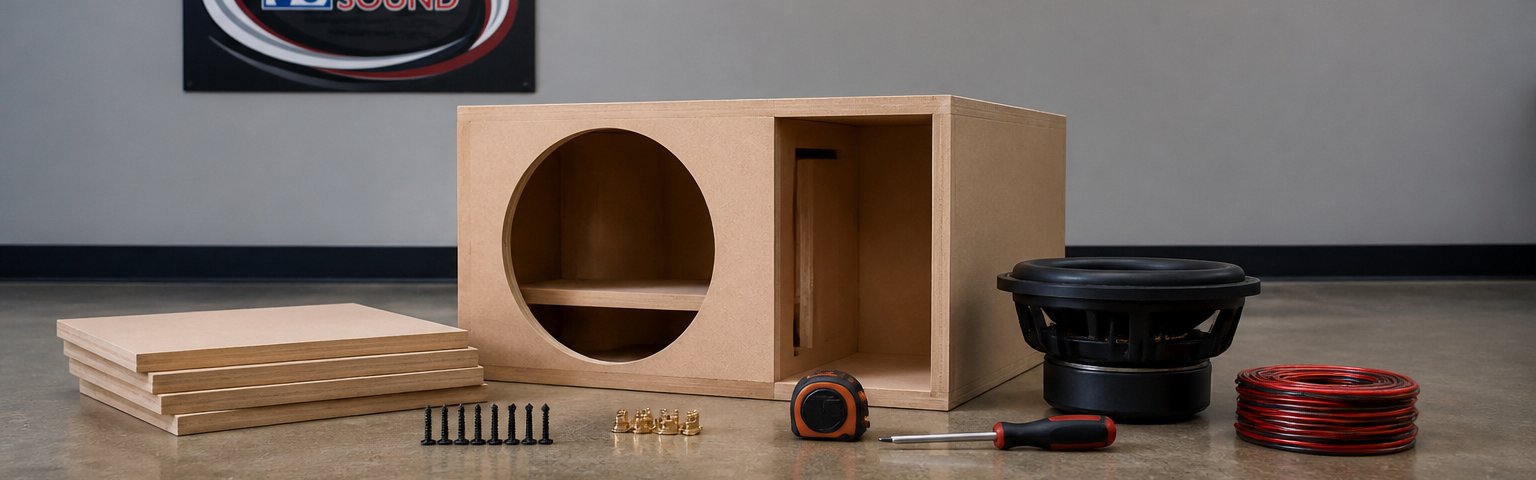
Table of Contents
- Understanding Your Vehicle Space and Requirements
- Method 1: Sealed vs. Ported Subwoofer Box Design
- Method 2: Calculating Subwoofer Box Dimensions
- Method 3: DIY Subwoofer Box Plans and Construction
- Method 4: Flat-Pack and Pre-Fabricated Options
- Method 5: Professional Subwoofer Enclosure Installation
- Choosing the Right Approach for Your Needs
- Frequently Asked Questions
Last Updated: October 12, 2026
Understanding Your Vehicle Space and Requirements
Building a custom subwoofer enclosure starts with knowing what you're working with. Your vehicle's space, your subwoofer driver, and your listening goals shape which approach makes sense.
At HB Auto Sound OC, we help customers evaluate these factors before committing to any method. The wrong design wastes money and delivers poor sound; the right one transforms your audio experience.
Measure your trunk or installation area in inches, length, width, and height. Note obstructions like spare tires, fuel tanks, or wheel wells, and take photos. This data drives every decision that follows.
Next, identify your subwoofer driver's specs: displacement volume (in cubic inches), recommended enclosure type, and tuning frequency. This comes from the manufacturer's manual or spec sheet; without it, your calculations will be off.
Finally, consider your listening priorities: tight, accurate bass for music, deep punchy output for hip-hop, or smooth response across genres. Different enclosure designs excel at different goals.
Method 1: Sealed vs. Ported Subwoofer Box Design
The first major choice in building a custom subwoofer enclosure is whether to seal the box or add a port. This decision affects everything: sound character, frequency response, power handling, and difficulty of construction.
Sealed Enclosures: Accuracy and Simplicity
A sealed enclosure is a completely airtight box with no openings except the driver mounting hole. Trapped air acts as a spring, resisting the driver's movement and creating a natural rolloff below the box's tuning frequency.
Sealed boxes deliver tight, accurate, flat, controlled bass, ideal for music lovers who value precision over raw output. They're also simpler to build: no port calculations, no tuning adjustments.
The trade-off is output: a sealed box produces less bass volume than a ported design of the same size. If you want maximum loudness, sealed won't get you there, but for clean, musical bass that doesn't color the music, it's the way to go.
Sealed enclosures also tolerate volume errors well, if your box is slightly smaller or larger than planned, the design adapts. A ported box becomes inaccurate if the volume is wrong.
Ported Enclosures: Output and Depth
A ported enclosure has a tuned opening (the port) that releases air pressure at a specific frequency, amplifying bass output there and creating a peak in the response curve.
Ported boxes produce more volume than sealed designs of the same size, delivering deeper, more dramatic bass, usually 3-6 dB more output in the port's tuning range.
The challenge is accuracy: ported boxes perform well only in a narrow frequency range. Below the port tuning, response drops off sharply; above it, response flattens. They work best when your music sits within their tuning window.
Port design demands precision, length, diameter, and internal shape all affect tuning frequency. Get it wrong and you'll hear boomy, one-note bass; get it right and the bass is thrilling.
For a custom subwoofer enclosure, sealed is usually easier to build and more forgiving. Ported offers more output but requires careful planning.
Method 2: Calculating Subwoofer Box Dimensions
Calculations are the foundation of a successful build. Guessing at box dimensions leads to poor sound and wasted materials.
Measuring Your Available Space
Measure the trunk or installation area in three dimensions, length, width, and height, rounding to the nearest half-inch, and write the numbers down.
Next, account for thickness. With 3/4-inch medium-density fiberboard (MDF), the box consumes space equal to material thickness times the number of walls, so internal volume is less than external dimensions suggest.
Identify immovable obstacles: spare tire, fuel filler neck, wheel wells, suspension components. Mark their locations on your sketch. Your enclosure must fit around them.
Finally, leave clearance for installation: space to slide the box in and secure it, plus room for mounting brackets, wiring, and ventilation if needed for amplifier cooling.
Volume Calculations and Driver Displacement
Internal volume is critical, it determines the enclosure's acoustic properties and how the driver performs.
To calculate internal volume, multiply length × width × height in inches for cubic inches, then divide by 1,728 to convert to cubic feet.
Example: A box measuring 24 inches × 18 inches × 14 inches internally equals 6,048 cubic inches, or about 3.5 cubic feet.
Now subtract driver displacement, the space your subwoofer's cone, surround, and motor occupy inside the box, specified by the manufacturer in cubic inches.
Net volume: 3.5 cubic feet minus 0.09 cubic feet equals 3.41 cubic feet.
This net volume is what matters for tuning and performance.
If your space doesn't match the driver's recommendations, choose a different driver, build a larger enclosure, or accept a slightly compromised response and build anyway.
Method 3: DIY Subwoofer Box Plans and Construction
Building your own custom subwoofer enclosure is achievable with the right tools, materials, and patience.
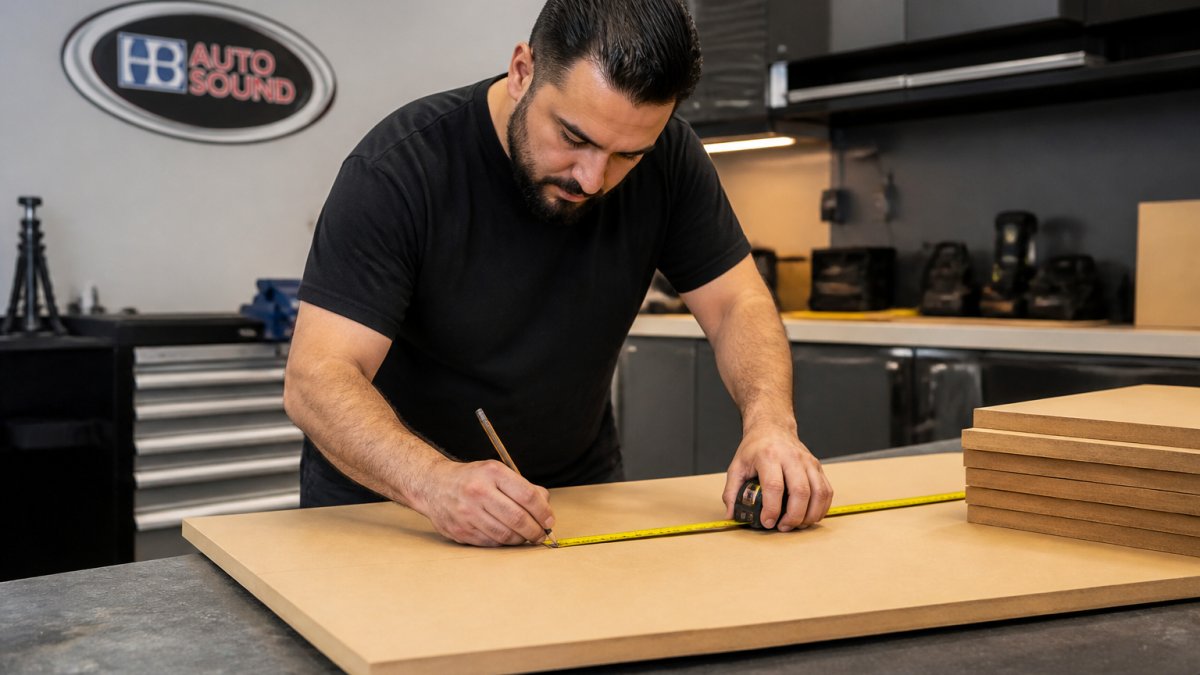
Materials: MDF and Fiberglass Options
Medium-density fiberboard (MDF) is the standard DIY choice, affordable, stable, and easy to machine. Use 3/4-inch MDF for front and side panels; it's thick enough to prevent resonance and flex.
MDF absorbs moisture, so seal all internal surfaces. Use a thin coat of paint, polyurethane, or silicone sealant. This prevents water damage and improves air-tightness.
Some builders add exterior fiberglass layers. It's optional but adds bracing without extra weight, dampens vibration, and creates a professional appearance. Fiberglass work requires resin, cloth, and ventilation, more time and cost, but improved durability.
You'll also need:
- Wood screws (1.25 inches, coarse-thread)
- Wood glue
- Caulk or silicone sealant
- Acoustic foam or fiberglass insulation (optional, for internal damping)
- Paint or stain (exterior finish)
Building Process: Cutting, Assembly, and Sealing
Start with a detailed blueprint: draw the box from all angles, showing panel dimensions, driver mounting location, and any ports.
Cut panels on a table saw or have a lumber supplier do it.
Assemble with wood glue and screws: bottom panel and two sides first, then top and rear.
Drill the driver mounting hole in the front panel. Use a hole saw sized for your driver. Sand the hole smooth.
Before final assembly, seal all internal seams with silicone caulk, air leaks destroy enclosure performance.
Assemble the front panel last. Apply silicone around the driver mounting flange, bolt the driver in, and tighten evenly in a star pattern.
Apply external bracing if needed. Bracing reduces panel resonance and improves enclosure rigidity. Use internal cross-braces for large boxes.
Finally, seal the exterior. Paint or stain the box. This protects MDF from moisture and improves aesthetics.
Common Build Mistakes and Troubleshooting
The most common mistake is underestimating air leaks. Tiny gaps around the driver, at seams, or around bracing let air escape and collapse the enclosure's acoustic design.
Fix air leaks with silicone sealant after assembly, fill every visible gap with a caulking gun and let it cure 24 hours before testing.
Another mistake is over-bracing: too many internal supports reduce volume and change the acoustic response. Brace only where needed to prevent panel flex.
| Build Method | Time Required | Difficulty | Cost | Best For |
|---|---|---|---|---|
| Sealed MDF Box | 6-10 hours | Beginner | Moderate | First-time builders |
| Ported MDF Box | 8-12 hours | Intermediate | Moderate | Music-focused listeners |
| Fiberglass Enclosure | 12-20 hours | Advanced | Higher | Long-term durability |
| Flat-Pack Assembly | 2-3 hours | Beginner | Lower | Quick installation |
| Professional Fabrication | N/A | N/A | Higher | Maximum performance |
Method 4: Flat-Pack and Pre-Fabricated Options
Not everyone has the time, tools, or confidence to build from scratch. Flat-pack enclosures offer a middle ground: assemble pre-cut panels, skip the design and cutting work.
Flat-pack boxes arrive with all panels pre-cut and pre-drilled, driver mounting panel, sides, top, bottom, and rear.
Advantages: faster assembly, fewer tools, less skill required, and an already-optimized design, the manufacturer has calculated volume and port tuning correctly.
Disadvantages: less customization, less satisfaction from building, and dependence on the manufacturer's design choices.
Pre-fabricated enclosures are fully assembled and tested, unbox, install, and connect. This trades time and learning for cost.
For customers who want a custom subwoofer enclosure but lack tools or time, flat-pack represents the best balance. You still participate in the build, but the hard work is done.
Method 5: Professional Subwoofer Enclosure Installation
Sometimes the best choice is letting professionals handle it. Professional fabrication offers advantages that DIY cannot match: precision engineering, custom design tailored to your vehicle, expert installation, and a warranty.
When to Choose Professional Fabrication
Professional fabrication makes sense if you want a custom subwoofer enclosure that maximizes your vehicle's space, integrates seamlessly with the interior, or requires specialized skills like fiberglass work.
Professionals have access to tools you don't: CNC routers, band saws, spray equipment, and testing gear. They can create enclosures that look factory-installed and perform at the highest level.
Professional builders also troubleshoot quickly: if something sounds wrong, they diagnose and fix it. With DIY, you're on your own.
The trade-off is cost. But if you value time, precision, and warranty protection, it's worth considering.
Installation and Validation After Setup
Once your custom subwoofer enclosure is built or purchased, installation and validation matter. Even a perfectly designed box sounds bad if installed incorrectly.
Position the enclosure securely and level in your vehicle; uneven mounting causes vibration and distortion.
Connect the driver to your amplifier with appropriate gauge wire, and use a subwoofer crossover to blend its output with your full-range speakers, adjusting the frequency to match their capabilities.
Test at low volume first, listening for rattles, buzzes, or panel vibration, signs of installation problems, not design flaws. Tighten bolts and check for air leaks.
Gradually increase volume and listen across genres. Bass should be tight and controlled (sealed) or punchy and dramatic (ported). If something sounds wrong, verify your enclosure's volume and port tuning.
Many builders and installers use a test tone generator or frequency sweep to validate performance, revealing peaks and dips in the response curve.
Choosing the Right Approach for Your Needs
Each method has strengths and weaknesses. Your choice depends on four factors: time, skill level, budget, and performance goals.
DIY MDF construction is best if you enjoy building, have tools, and want to learn. It's the most affordable option and offers complete customization.
Flat-pack assembly suits people who want a faster build but still want to participate, eliminating design and cutting work while keeping assembly simple.
Pre-fabricated enclosures are for people who prioritize convenience over cost, a finished, tested product with no assembly required.
Professional fabrication is the choice for maximum performance, custom integration, and warranty coverage. It's the most expensive option but delivers results that DIY rarely matches.
For a high-end audio system or show vehicle, professional fabrication ensures your enclosure matches your other components. For a daily driver upgrade, DIY or flat-pack makes sense.
The team at HB Auto Sound OC can guide you through this decision. We've helped thousands of customers in Orange County choose the right approach for their vehicles and listening goals, offering custom fabrication services and advice on DIY builds.
Building a custom subwoofer enclosure transforms your vehicle's audio system.
Frequently Asked Questions
What's the difference between a sealed and ported subwoofer box?
A sealed subwoofer enclosure is airtight and delivers tight, accurate bass with a smaller footprint, making it ideal for vehicles with limited trunk space. A ported subwoofer box has an opening that extends the low-frequency response and produces louder, deeper bass but requires more internal volume and careful tuning to avoid port noise. Your choice depends on your vehicle space, listening preferences, and the subwoofer driver's specifications.
How do I measure for a custom subwoofer box in my vehicle?
Start by measuring your available installation space in inches: width, height, and depth of your trunk or under-seat area. Account for subwoofer driver displacement by checking your driver's specifications. Use the formula: net volume equals total enclosure volume minus driver displacement. Write down all measurements carefully, as accuracy is critical for proper tuning frequency and sound quality. If you're unsure about calculations, professional installers can verify your measurements.
Can I build a subwoofer enclosure myself, or should I have it professionally built?
DIY construction is possible if you have basic carpentry skills, proper tools, and time to measure accurately and seal air leaks. Professional fabrication ensures precision, proper internal bracing, quality sealant application, and validated tuning. Many vehicle owners choose professional installation, especially with expensive subwoofer drivers.
What materials should I use to build a subwoofer enclosure?
Medium-density fiberboard (MDF) at 3/4-inch thickness is the industry standard for DIY and professional builds because it's affordable, easy to cut, and provides good acoustic properties. Fiberglass enclosures offer durability and custom shaping but require advanced skills and equipment. Regardless of material, ensure all panels are braced internally, sealed with quality adhesive, and assembled with screws to prevent air leaks that degrade sound quality.
Ready to Upgrade Your Ride?
Call us at (714) 842-1250 or visit us at 16732 Beach Blvd Ste A, Huntington Beach.
Get a Free Quote